文 精誠資訊/恆逸教育訓練中心 - 資深講師 王俊城 Anderson Wang
Harbor私庫,是由VMware開發,目前是CNCF【Cloud Native Computing Foundation】維護。用來維護管理container images,提供安全、可控,適合企業環境使用的私庫解決方案。
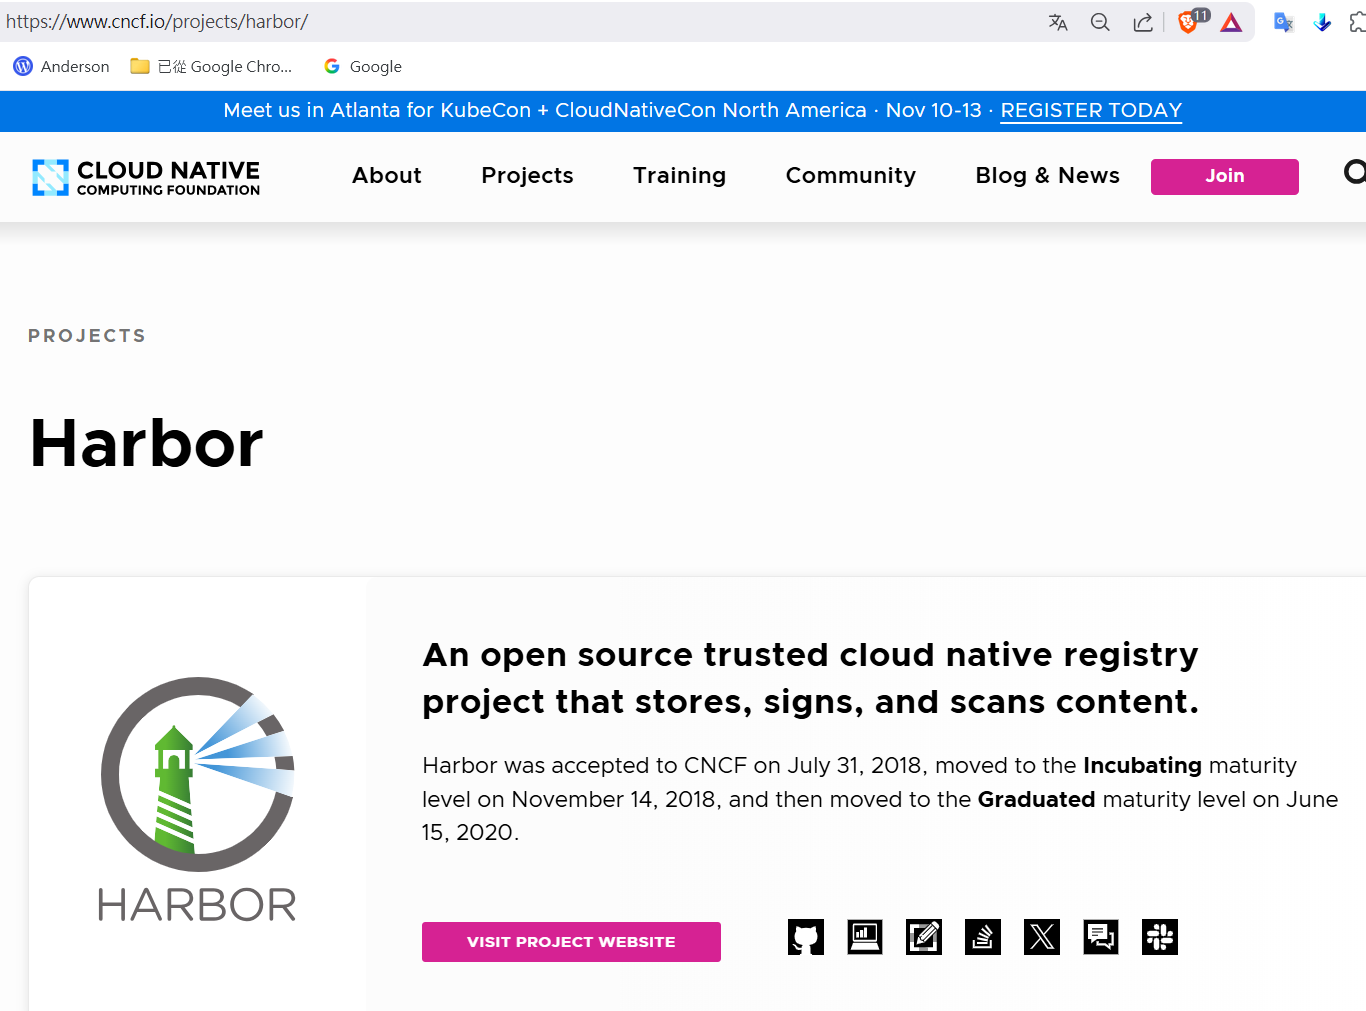
圖一:Harbor網站介紹-1
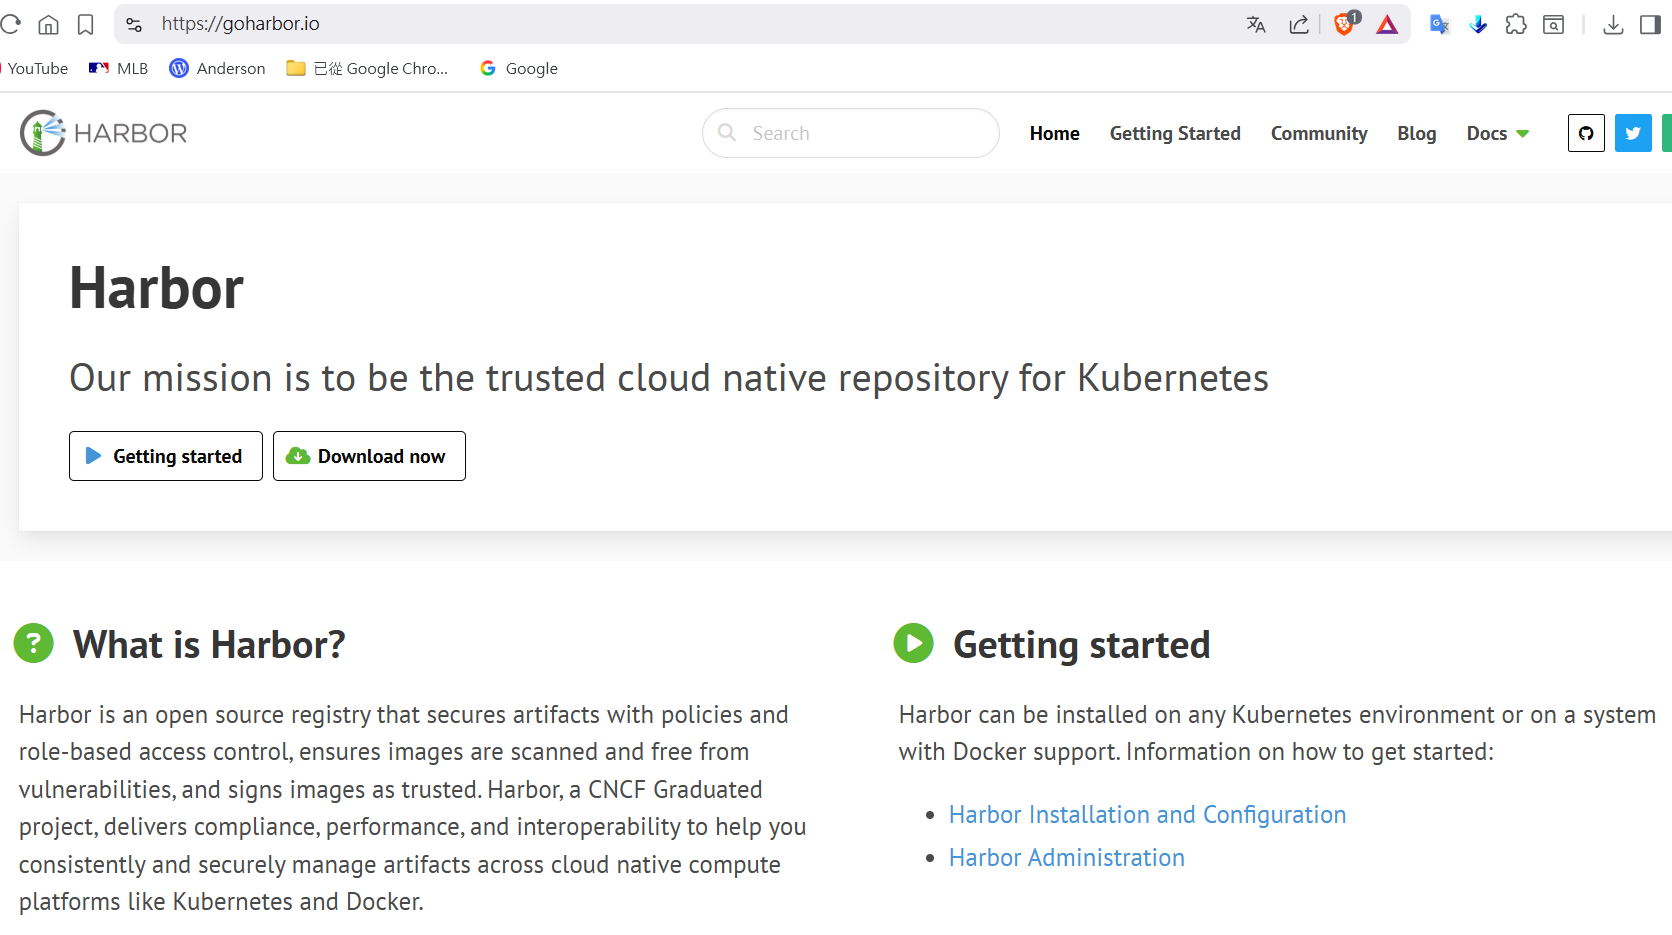
圖二:Harbor網站介紹-2
跟另外一個私庫 – docker registry比起來,Harbor的定位跟功能更適合企業環境使用, 以下是 Harbor 與 docker registry 的比較
| Harbor | docker registry |
|---|
| VMware 開發,交付 CNCF 維護 | Docker 官方提供 |
| 直覺化圖形管理介面 | 需要搭配 registry-web |
| 支援 RBAC (Role Base Access Control) | 不支援 RBAC 授權管理 |
| 支援弱點掃描 plug-in | 不支援弱點掃描 plug-in |
| 安裝比較複雜 | 部署簡單 |
| 企業多租戶環境使用 | 單人或小型團隊使用 |
表一:Harbor跟docker registry比較
以下就介紹如何安裝部署Harbor
環境是Rocky Linux 9.x,需要先安裝 docker-ce
[root@docker1 ~]# dnf config-manager --add-repo=https://download.docker.com/linux/centos/docker-ce.repo【同一行指令】
Adding repo from: https://download.docker.com/linux/centos/docker-ce.repo
[root@docker1 ~]#
[root@docker1 ~]# ls -l /etc/yum.repos.d/
total 24
-rw-r--r--  1 root root 1919 Jan  2 14:43 docker-ce.repo
-rw-r--r--. 1 root root 6610 Nov  1 11:27 rocky-addons.repo
-rw-r--r--. 1 root root 1165 Nov  1 11:27 rocky-devel.repo
-rw-r--r--. 1 root root 2387 Nov  1 11:27 rocky-extras.repo
-rw-r--r--. 1 root root 3417 Nov  1 11:27 rocky.repo
[root@docker1 ~]#
[root@docker1 ~]# dnf install docker-ce -y
Docker CE Stable - x86_64                                173 kB/s |  61 kB     00:00
Dependencies resolved.
=========================================================================================
    Package                       Arch       Version             Repository            Size
=========================================================================================
Installing:
    docker-ce                     x86_64     3:27.4.1-1.el9      docker-ce-stable      27 M
Installing dependencies:
    containerd.io                 x86_64     1.7.24-3.1.el9      docker-ce-stable      43 M
    docker-ce-cli                 x86_64     1:27.4.1-1.el9      docker-ce-stable     8.0 M
Installing weak dependencies:
    docker-buildx-plugin          x86_64     0.19.3-1.el9        docker-ce-stable      14 M
    docker-ce-rootless-extras     x86_64     27.4.1-1.el9        docker-ce-stable     4.4 M
    docker-compose-plugin         x86_64     2.32.1-1.el9        docker-ce-stable      14 M

Transaction Summary
=========================================================================================
Install  6 Packages

Total download size: 110 M
Installed size: 430 M
Downloading Packages:
(1/6): docker-ce-27.4.1-1.el9.x86_64.rpm                 230 kB/s |  27 MB     02:00
(2/6): docker-buildx-plugin-0.19.3-1.el9.x86_64.rpm      114 kB/s |  14 MB     02:04
(3/6): docker-ce-rootless-extras-27.4.1-1.el9.x86_64.rpm 161 kB/s | 4.4 MB     00:27
(4/6): docker-ce-cli-27.4.1-1.el9.x86_64.rpm             173 kB/s | 8.0 MB     00:47
(5/6): containerd.io-1.7.24-3.1.el9.x86_64.rpm           241 kB/s |  43 MB     03:02
(6/6): docker-compose-plugin-2.32.1-1.el9.x86_64.rpm     307 kB/s |  14 MB     00:45
-----------------------------------------------------------------------------------------
Total                                                    570 kB/s | 110 MB     03:17
Docker CE Stable - x86_64                                 13 kB/s | 1.6 kB     00:00
Importing GPG key 0x621E9F35:
    Userid     : "Docker Release (CE rpm) "
    Fingerprint: 060A 61C5 1B55 8A7F 742B 77AA C52F EB6B 621E 9F35
    From       : https://download.docker.com/linux/centos/gpg
Key imported successfully
Running transaction check
Transaction check succeeded.
Running transaction test
Transaction test succeeded.
Running transaction
    Preparing        :                                                                 1/1
    Installing       : docker-compose-plugin-2.32.1-1.el9.x86_64                       1/6
    Running scriptlet: docker-compose-plugin-2.32.1-1.el9.x86_64                       1/6
    Installing       : docker-buildx-plugin-0.19.3-1.el9.x86_64                        2/6
    Running scriptlet: docker-buildx-plugin-0.19.3-1.el9.x86_64                        2/6
    Installing       : docker-ce-cli-1:27.4.1-1.el9.x86_64                             3/6
    Running scriptlet: docker-ce-cli-1:27.4.1-1.el9.x86_64                             3/6
    Installing       : containerd.io-1.7.24-3.1.el9.x86_64                             4/6
    Running scriptlet: containerd.io-1.7.24-3.1.el9.x86_64                             4/6
    Installing       : docker-ce-rootless-extras-27.4.1-1.el9.x86_64                   5/6
    Running scriptlet: docker-ce-rootless-extras-27.4.1-1.el9.x86_64                   5/6
    Installing       : docker-ce-3:27.4.1-1.el9.x86_64                                 6/6
    Running scriptlet: docker-ce-3:27.4.1-1.el9.x86_64                                 6/6
    Verifying        : containerd.io-1.7.24-3.1.el9.x86_64                             1/6
    Verifying        : docker-buildx-plugin-0.19.3-1.el9.x86_64                        2/6
    Verifying        : docker-ce-3:27.4.1-1.el9.x86_64                                 3/6
    Verifying        : docker-ce-cli-1:27.4.1-1.el9.x86_64                             4/6
    Verifying        : docker-ce-rootless-extras-27.4.1-1.el9.x86_64                   5/6
    Verifying        : docker-compose-plugin-2.32.1-1.el9.x86_64                       6/6

Installed:
    containerd.io-1.7.24-3.1.el9.x86_64
    docker-buildx-plugin-0.19.3-1.el9.x86_64
    docker-ce-3:27.4.1-1.el9.x86_64
    docker-ce-cli-1:27.4.1-1.el9.x86_64
    docker-ce-rootless-extras-27.4.1-1.el9.x86_64
    docker-compose-plugin-2.32.1-1.el9.x86_64

Complete!
[root@docker1 ~]#
[root@docker1 ~]# systemctl start docker
[root@docker1 ~]# systemctl enable docker
Created symlink /etc/systemd/system/multi-user.target.wants/docker.service → /usr/lib/systemd/system/docker.service.
[root@docker1 ~]# systemctl status docker
● docker.service - Docker Application Container Engine
        Loaded: loaded (/usr/lib/systemd/system/docker.service; enabled; preset: disabled)
        Active: active (running) since Thu 2025-01-02 14:52:54 CST; 9s ago
TriggeredBy: ● docker.socket
        Docs: https://docs.docker.com
    Main PID: 37103 (dockerd)
        Tasks: 8
        Memory: 25.8M
        CPU: 212ms
        CGroup: /system.slice/docker.service
                └─37103 /usr/bin/dockerd -H fd:// --containerd=/run/containerd/containerd.s>

Jan 02 14:52:52 docker1.training.lab dockerd[37103]: time="2025-01-02T14:52:52.392261994>
Jan 02 14:52:52 docker1.training.lab dockerd[37103]: time="2025-01-02T14:52:52.393861130>
Jan 02 14:52:52 docker1.training.lab dockerd[37103]: time="2025-01-02T14:52:52.455078708>
Jan 02 14:52:52 docker1.training.lab dockerd[37103]: time="2025-01-02T14:52:52.489173923>
Jan 02 14:52:54 docker1.training.lab dockerd[37103]: time="2025-01-02T14:52:54.178443739>
Jan 02 14:52:54 docker1.training.lab dockerd[37103]: time="2025-01-02T14:52:54.601115373>
Jan 02 14:52:54 docker1.training.lab dockerd[37103]: time="2025-01-02T14:52:54.626563823>
Jan 02 14:52:54 docker1.training.lab dockerd[37103]: time="2025-01-02T14:52:54.626713951>
Jan 02 14:52:54 docker1.training.lab dockerd[37103]: time="2025-01-02T14:52:54.686957168>
Jan 02 14:52:54 docker1.training.lab systemd[1]: Started Docker Application Container En>
[root@docker1 ~]#
使用以下shell sript安裝Harbor
#!/bin/bash
# 2025.7.4 Fri Version 0.0.2
#   Rocky Linux 9.x,安裝在 docker1.training.lab
###################################################################
#
# 下載docker-compose
#
curl -L https://github.com/docker/compose/releases/download/v2.38.1/docker-compose-linux-x86_64 > /usr/local/bin/docker-compose
sha256sum /usr/local/bin/docker-compose
chmod 755 /usr/local/bin/docker-compose
/usr/local/bin/docker-compose --version

# 下載harbor離線安裝包
cd /root
curl -LO https://github.com/goharbor/harbor/releases/download/v2.13.1/harbor-offline-installer-v2.13.1.tgz
tar zxvf harbor-offline-installer-v2.13.1.tgz

# 憑證相關
mkdir -p /etc/pki/tls/harbor
cd /etc/pki/tls/harbor

# 產生 CA private key
openssl genrsa -out ca.key 4096

# 產生 CA public key
openssl req -x509 -new -nodes -sha512 -days 3650 \
    -subj "/C=TW/ST=Taiwan/L=Taipei/O=UUU/OU=DKL/CN=docker1.training.lab" \
    -key ca.key \
    -out ca.crt

# 產生 docker.training.lab private key
openssl genrsa -out docker1.training.lab.key 4096

# 產生 docker.training.lab CSR
openssl req -sha512 -new \
    -subj "/C=TW/ST=Taiwan/L=Taipei/O=UUU/OU=DKL/CN=docker1.training.lab" \
    -key docker1.training.lab.key \
    -out docker1.training.lab.csr

# 使用CA private幫CRS sign
openssl x509 -req -sha512 -days 3650 \
    -CA ca.crt -CAkey ca.key -CAcreateserial \
    -in docker1.training.lab.csr \
    -out docker1.training.lab.crt

# docker 需要使用 .cert 副檔名
cp docker1.training.lab.crt docker1.training.lab.cert

# 部署 CA public key for docker
mkdir -p /etc/docker/certs.d/docker1.training.lab
cp /etc/pki/tls/harbor/ca.crt /etc/docker/certs.d/docker1.training.lab/.
cp /etc/pki/tls/harbor/docker1.training.lab.* /etc/docker/certs.d/docker1.training.lab/.

systemctl restart docker

# 客製化的 harbor.yml
cd /root/harbor/
cp harbor.yml.tmpl harbor.yml

cat > harbor.sed <<-EOF
s/^hostname.*/hostname\: docker1.training.lab/g
s/certificate\: \/your\/certificate\/path/certificate\: \/etc\/pki\/tls\/harbor\/docker1.training.lab.crt/g
s/private_key\: \/your\/private\/key\/path/private_key\: \/etc\/pki\/tls\/harbor\/docker1.training.lab.key/g
EOF

sed -i -f harbor.sed /root/harbor/harbor.yml

# 安裝harbor
cd /root/harbor
./install.sh

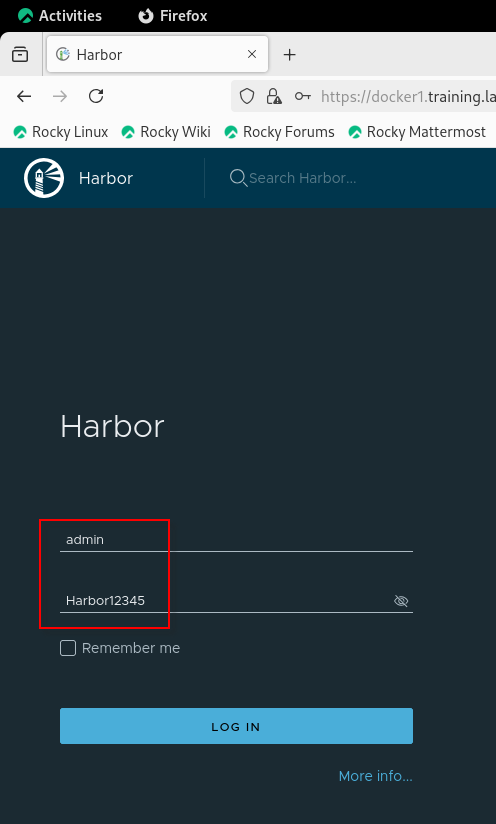
docker login -u admin -p Harbor12345 https://docker1.training.lab
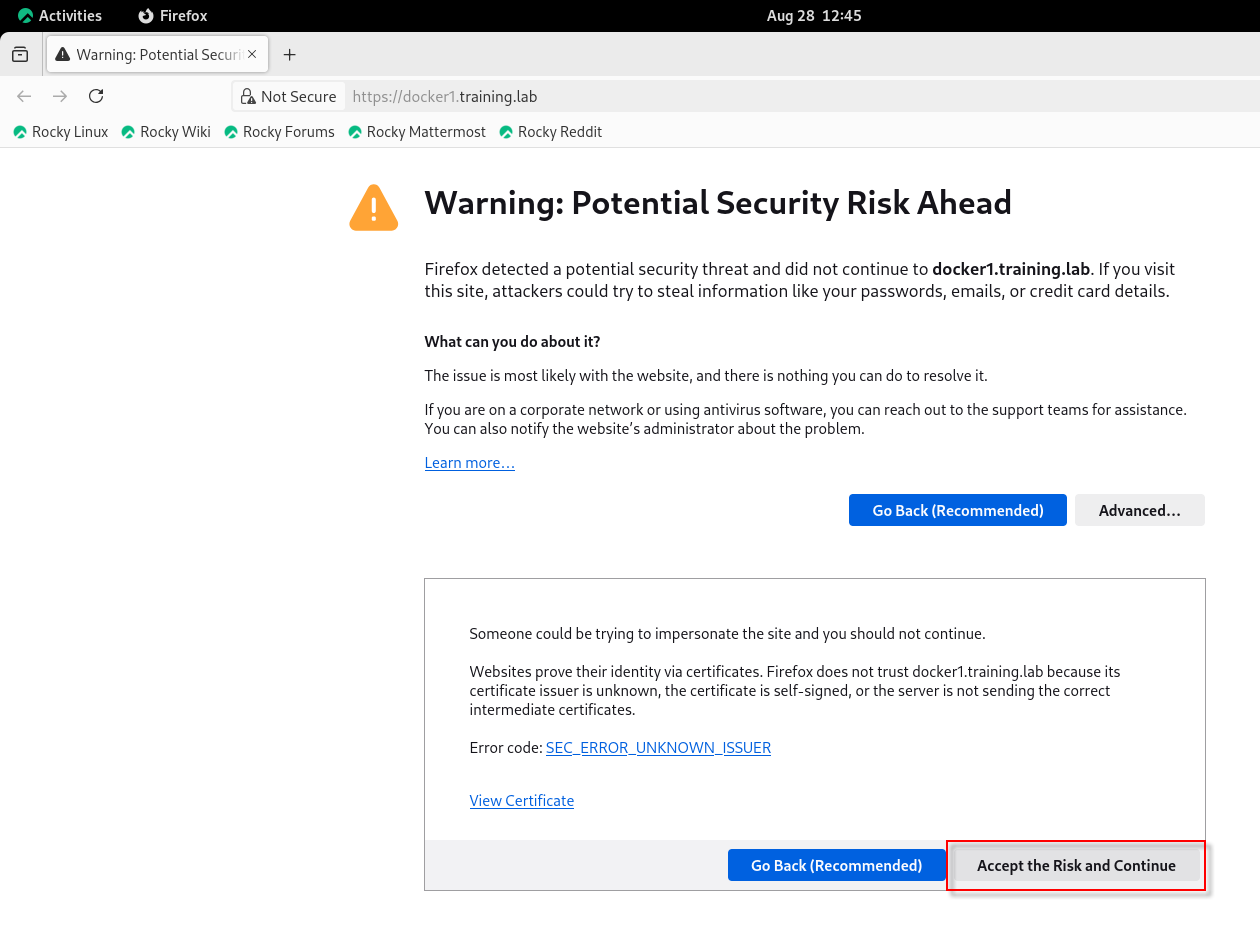
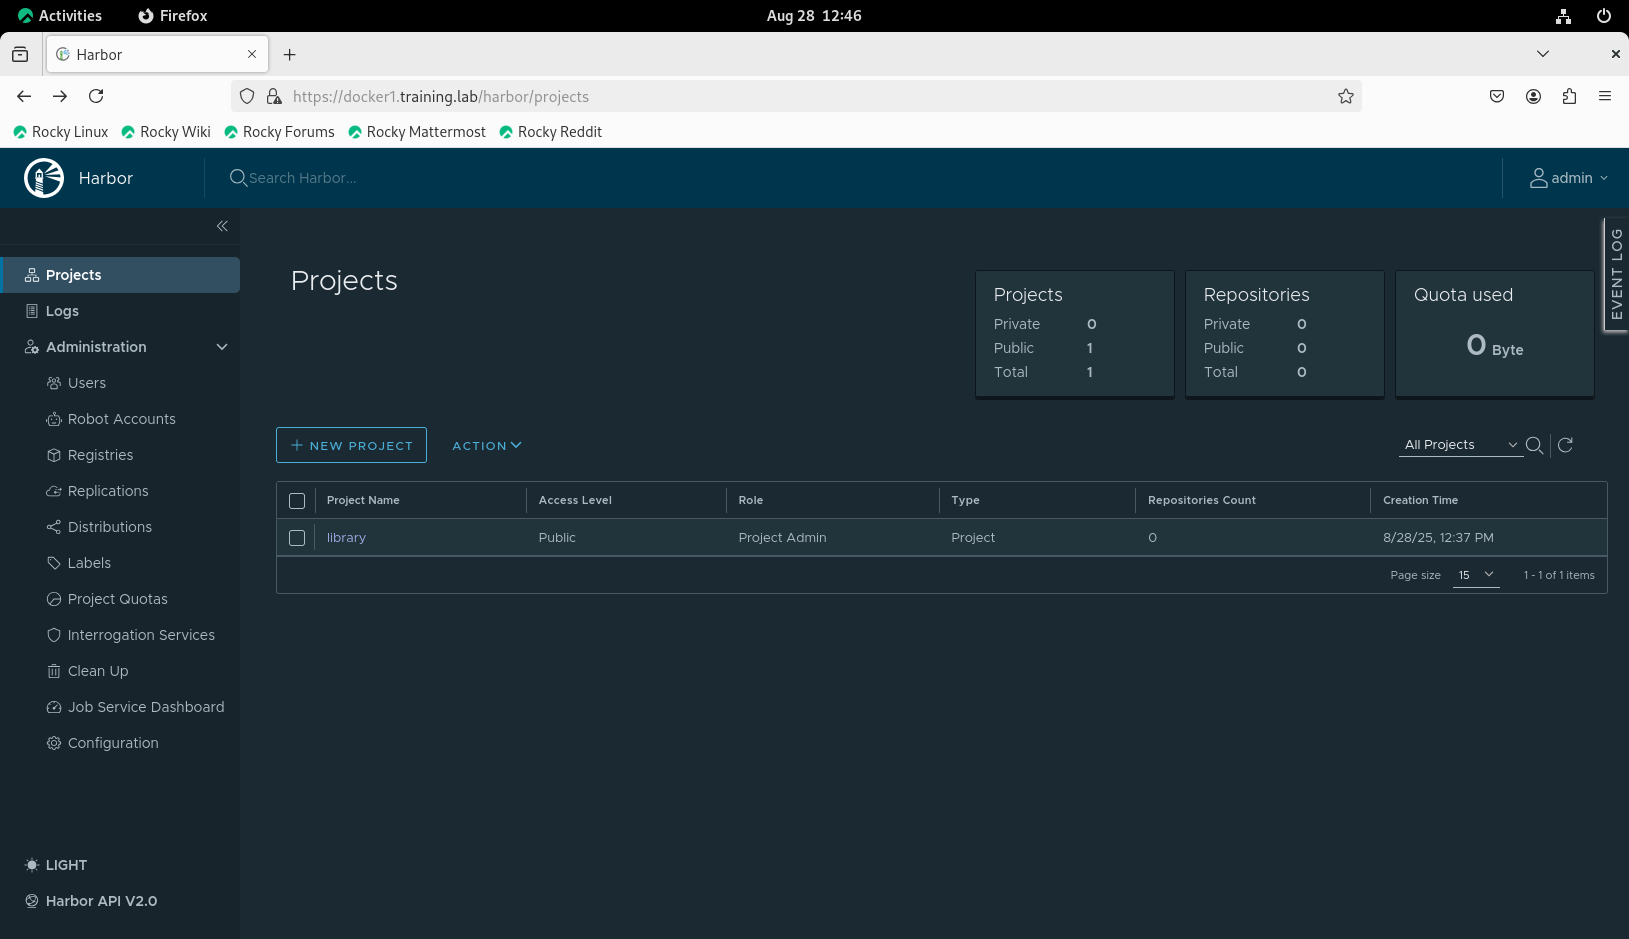
使用firefox,登入Harbor圖形管理介面
[root@docker1 ~]# firefox https://docker1.training.lab
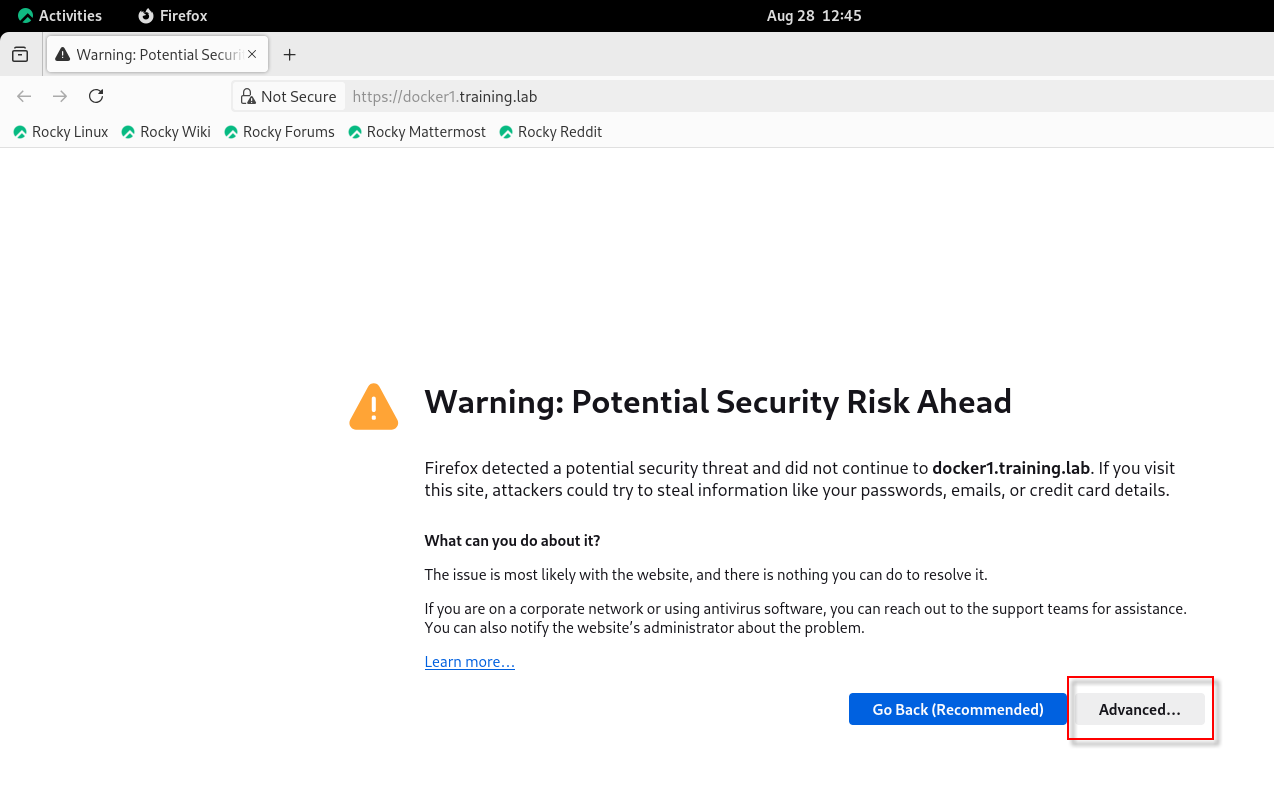
圖三:Harbor登入畫面-1
圖四:Harbor登入畫面-2
圖五:Harbor登入畫面-3
圖六:Harbor管理畫面
上傳container image到Harbor私庫
[root@docker2 ~]# docker images
REPOSITORY   TAG       IMAGE ID       CREATED       SIZE
httpd        latest    c5a012f9cf45   5 years ago   165MB
[root@docker2 ~]#
[root@docker2 ~]# docker tag httpd docker1.training.lab/library/httpd:latest
[root@docker2 ~]# docker push docker1.training.lab/library/httpd:latest
The push refers to repository [docker1.training.lab/library/httpd]
25a92d79dbfe: Pushed
b5432b464616: Pushed
e6699b4fc2e3: Pushed
762ba19e7ef1: Pushed
f2cb0ecef392: Pushed
latest: digest: sha256:d3df077ec2ddbe0a62279c672b9c792055b96f6d22ed1e45371bcd70393730f9 size: 1367
[root@docker2 ~]#
到Harbor圖形管理介面確認是否上傳成功?
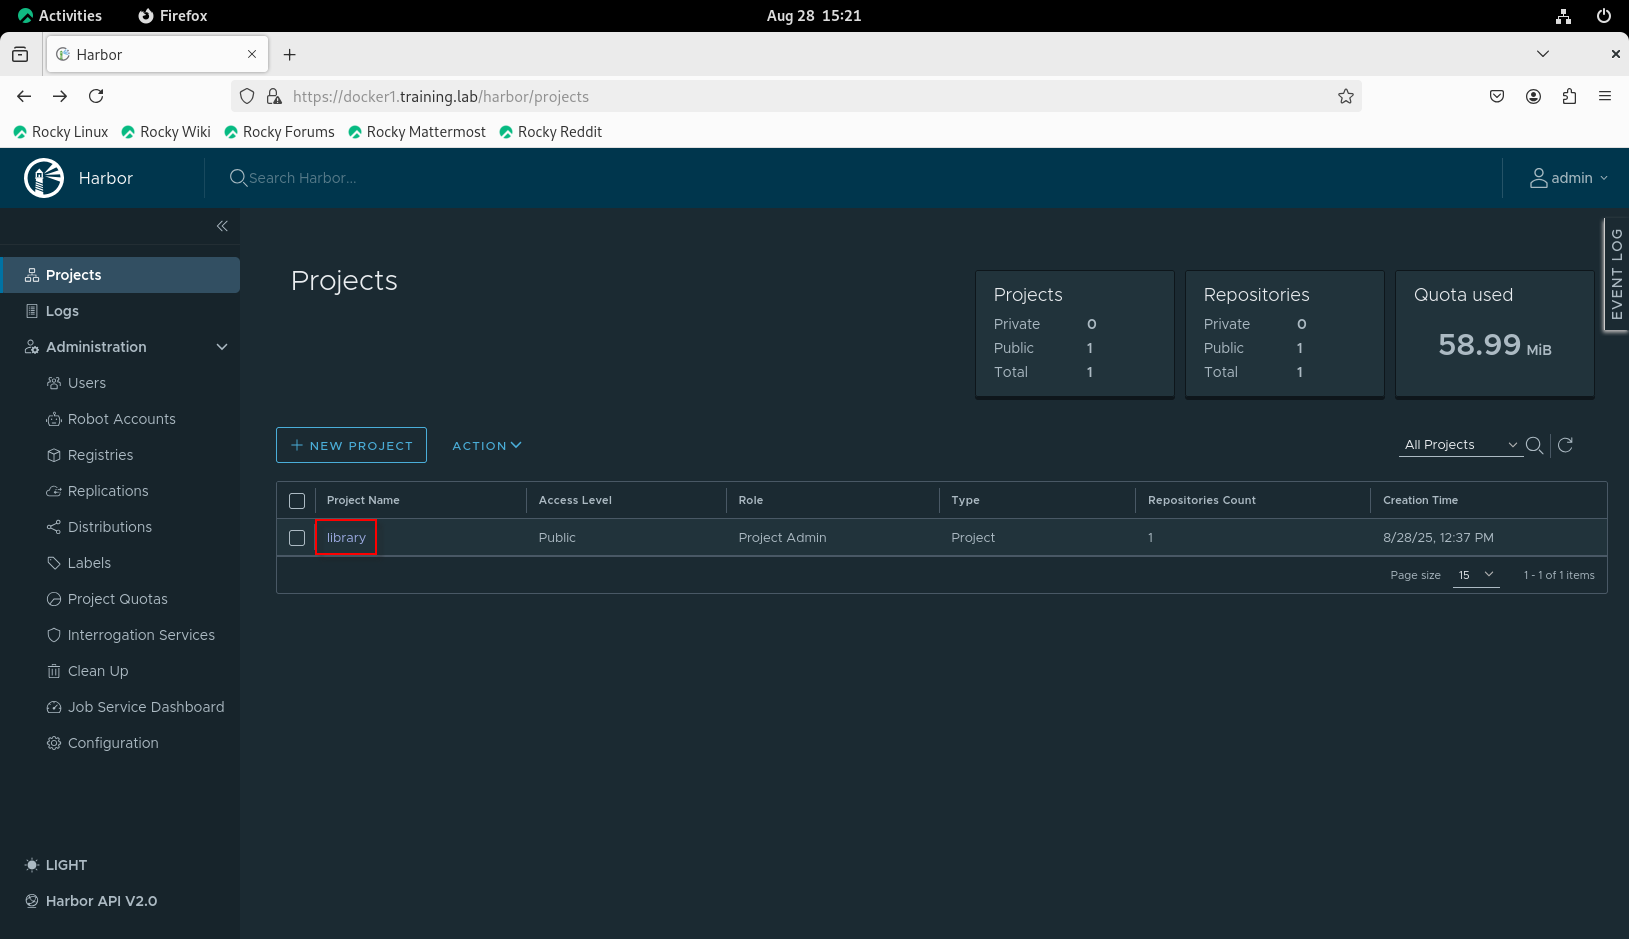
圖七:確認是否上傳container image-1

圖八:確認是否上傳container image-2
檢查是否可以從Harbor私庫,下載container image
[root@docker2 ~]# docker images
REPOSITORY   TAG       IMAGE ID   CREATED   SIZE
[root@docker2 ~]#
[root@docker2 ~]# docker pull docker1.training.lab/library/httpd
Using default tag: latest
latest: Pulling from library/httpd
68ced04f60ab: Pull complete
35d35f1e0dc9: Pull complete
8a918bf0ae55: Pull complete
d7b9f2dbc195: Pull complete
d56c468bde81: Pull complete
Digest: sha256:d3df077ec2ddbe0a62279c672b9c792055b96f6d22ed1e45371bcd70393730f9
Status: Downloaded newer image for docker1.training.lab/library/httpd:latest
docker1.training.lab/library/httpd:latest
[root@docker2 ~]# docker images
REPOSITORY                           TAG       IMAGE ID       CREATED       SIZE
docker1.training.lab/library/httpd   latest    c5a012f9cf45   5 years ago   165MB
[root@docker2 ~]#
比較kubernetes從docker公庫、docker registry私庫跟Harbor私庫部署container image從docker公庫部署
kubernetes create deployment test1 --image=nginx
從registry私庫部署
kubernetes create deployment test2 --image=docker1.training.lab:5000/nginx
從Harbor私庫部署
kubernetes create deployment test3 --image=docker1.training.lab/library/httpd
企業的正式環境,肯定是會在內部建置私庫使用,自行維護管理container image,Harbor在多租戶的正式環境是個不錯的選擇。